Welcome the Flavors of Strawberry Banana Pudding Dream Recipe
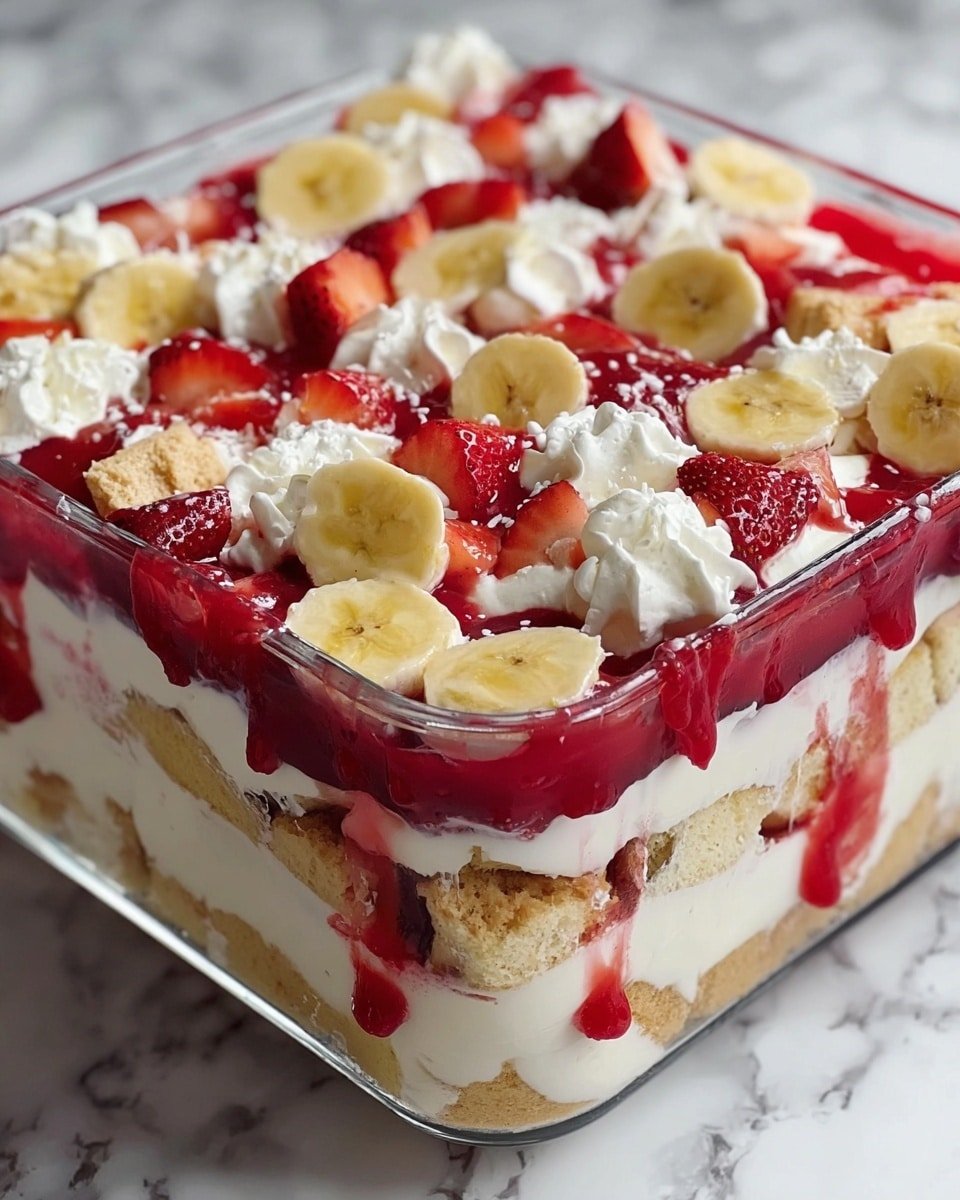
If you’re craving a dessert that’s both nostalgic and bursting with fresh flavor, this Strawberry Banana Pudding Dream Recipe is bound to become your new favorite. I love how the creamy layers mingle with the sweet, bubbly crunch of vanilla wafers, plus the fresh zing of ripe strawberries and bananas makes every bite so lively! It’s a perfect treat for family dinners, potlucks, or whenever you need a cool, comforting dessert without turning on the oven.
The best part? You don’t have to be a kitchen pro to whip this up. With just twenty minutes of prep and a little chill time, you’ll enjoy a dessert that feels fancy but is totally fuss-free. Whether it’s a sunny weekend gathering or a weeknight sweet fix, the Strawberry Banana Pudding Dream Recipe delivers that golden crisp and creamy delight that everyone smiles about.
Daisy’s Top Tips
- Flavor Builder: Use ripe bananas and fresh strawberries for naturally sweet layers that don’t need extra sugar.
- Texture Magic: Layer vanilla wafers just before serving to keep them crunchy, or soak briefly for softness—both work wonderfully!
- Budget Friendly: Substitute homemade vanilla pudding if you want to stretch ingredients even further without sacrificing taste.
- Time Saver: Prep your fruit slices a day ahead and keep them chilled in lemon water to prevent browning.
Market Basket & Pantry Picks
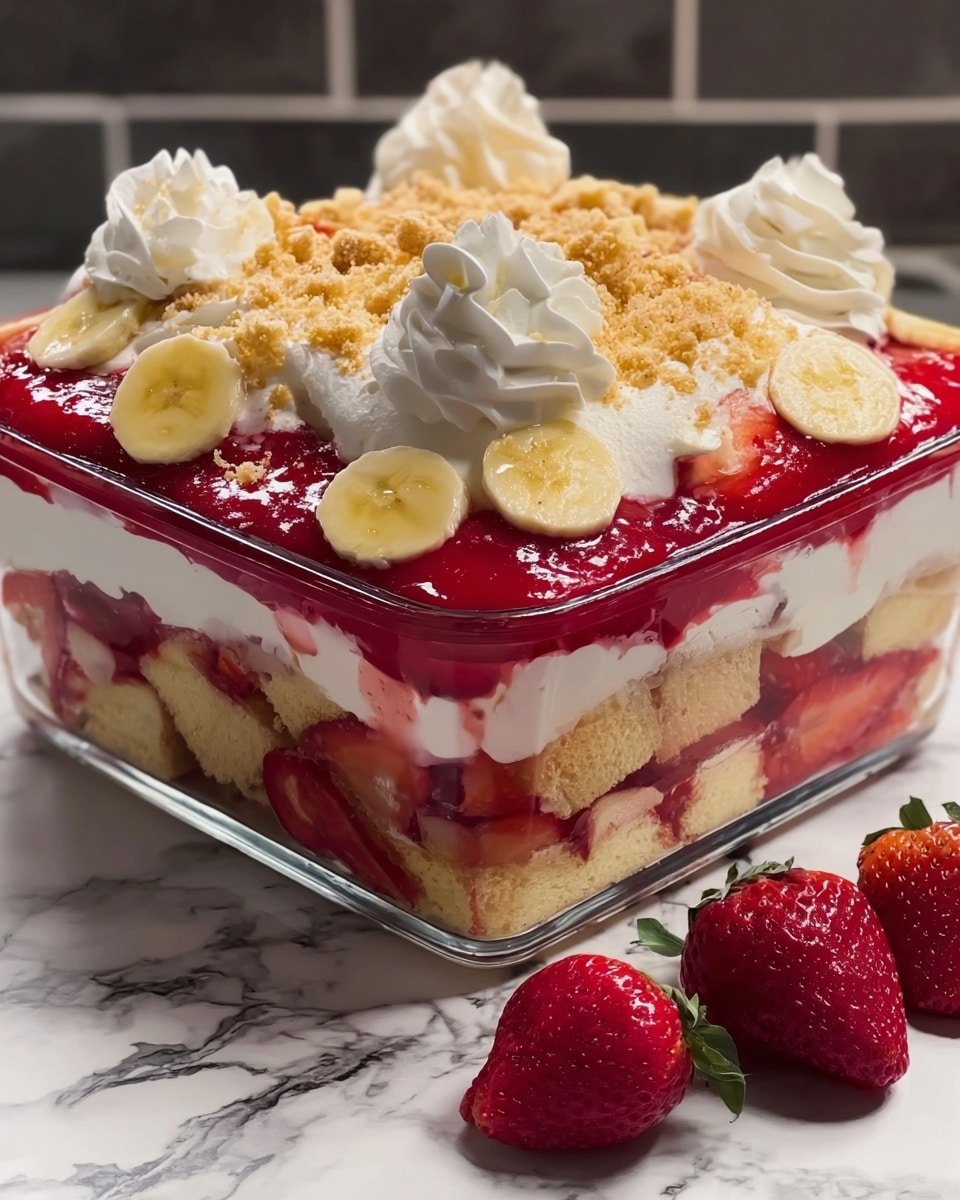
Getting the best out of the Strawberry Banana Pudding Dream Recipe starts at the market. I always look for bananas that are just perfectly ripe — speckled with spots but still firm. And don’t overlook those bright, fragrant strawberries; they make a big difference in balance and freshness. If you can’t find fresh strawberries, frozen (thawed well) can work too, just drain off extra juices.
- Vanilla Wafers: Classic and crisp to build those crunchy layers.
- Bananas (6-8): Freshly sliced for that creamy sweetness.
- Milk (2 cups): Choose whole or 2% milk for velvety pudding texture.
- Strawberries (1 container): Bright and juicy, the star of fruity freshness.
- French Vanilla Pudding (5 oz. box): Gives that luscious foundation.
- Cream Cheese (8 oz.): Adds richness and depth to your pudding mix.
- Sweetened Condensed Milk (14 oz. can): Sweet and smooth, the perfect creamy binder.
- Whipped Topping (12 oz. container): Light and fluffy finish to spread on top.
Smart Shopping Ideas
Look for cream cheese at room temperature to make mixing a breeze and ensure no lumps in your pudding. When selecting strawberries, pick firm, brightly colored berries without any soft spots for maximum freshness. For convenience, vanilla wafer crumbs can be used on top for a quick crunchy finish instead of whole wafers. Don’t forget to check milk expiry dates so your pudding sets perfectly every time.
Cook Strawberry Banana Pudding Dream Recipe Step by Step
I always find that a step-by-step plan keeps the process light and enjoyable. This Strawberry Banana Pudding Dream Recipe comes together in no time, with no cooking needed — just layering and blending your ingredients for that beautiful creamy and fruity finish. Here’s how you bring it all together:
- Smooth Start: In a mixing bowl, whisk the cream cheese and sweetened condensed milk until silky smooth with no lumps. This creamy base is the heart of your pudding layers.
- Mix It Up: Stir in the French Vanilla pudding mix and milk. Combine thoroughly until the mixture is luxuriously thick but still pourable.
- Layer One: Spread a layer of vanilla wafers evenly in your large serving dish. Then add a beautiful layer of sliced bananas followed by sliced strawberries. The contrasting textures here are going to wow.
- Pour Pudding: Spoon half of your luscious pudding mixture over the fruit and wafers, letting it settle into every nook.
- Layer Repeat: Repeat this layering with the remaining wafers, bananas, and strawberries. Pour the rest of the pudding mixture on top to seal all those lovely flavors.
- Top It Off: Finally, spread the whipped topping over the pudding’s surface. This adds a light, snowy finish that’s as inviting as it looks.
- Chill Time: Cover and refrigerate your masterpiece for at least four hours. I usually find it tastes best the next day when all those flavors have happily mingled.
Serving the Dish with Flair
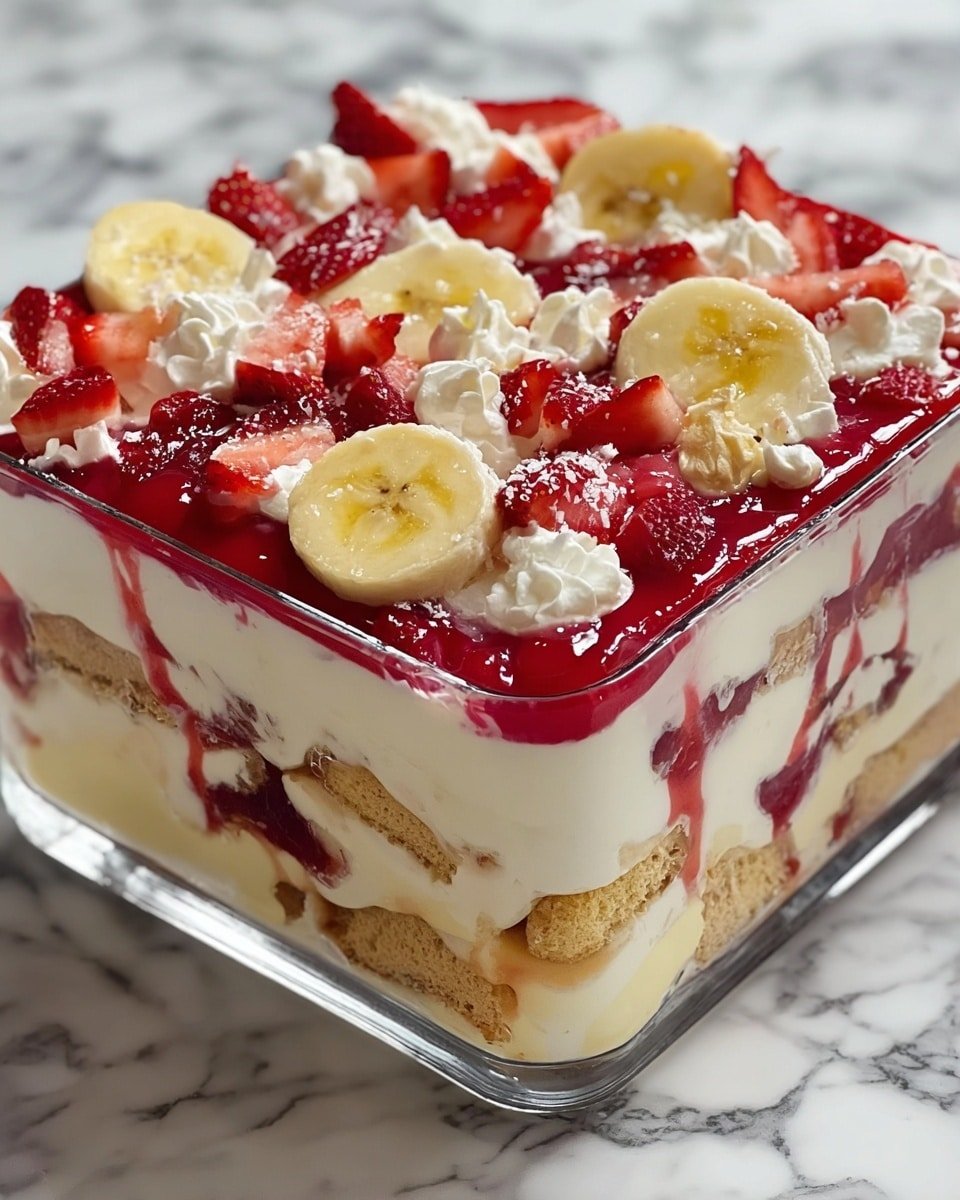
Once your Strawberry Banana Pudding Dream Recipe has chilled to that perfect creamy-cool state, it’s time to serve. I love scooping out generous spoonfuls so the layers shine through. You’ll enjoy how the fruity aroma welcomes your guests before the first bite. It’s a dessert that smells like summer and tastes like a dream! Feel free to garnish with a fresh strawberry or banana slice to add a pop of color.
Serve It Up Right
- Perfect Pairings: Serve alongside fresh mint tea or a light bubbly lemonade to brighten the palate.
- Plating Magic: Use a clear trifle bowl or glass cups to show off those luscious layers—it’s as pretty as it is tasty!
- Leftover Love: Store leftovers covered in the fridge up to 3 days for continued creamy goodness.
- Occasion Twist: Add a splash of rum or a sprinkle of toasted coconut for a tropical party vibe.
Fun Variations with Strawberry Banana Pudding Dream Recipe
- Swap fresh strawberries for raspberries or blueberries for a berry-blend twist.
- Mix in crushed pineapple between layers for a tropical surprise.
- Add a drizzle of caramel or chocolate syrup over the whipped topping for extra indulgence.
- Use coconut or almond-flavored pudding mix to switch up the flavor profile.
- Layer in chopped nuts like pecans or walnuts for a pleasant crunch contrast.
- Top with shaved white chocolate for a delicate, elegant finish.
Make-Ahead & Storage Tips
- Refrigerate: This pudding needs at least 4 hours chilling, but overnight is best for flavors to really marry.
- Cover Well: Use plastic wrap or airtight containers to keep the whipped topping from drying out.
- Freeze: Not recommended as the texture may change, but you can freeze just the pudding mix separately before assembly.
- Reheat: Serve cold or at room temperature; warming will break down the creamy texture.
Strawberry Banana Pudding Dream Recipe FAQs
- Can I use instant pudding mix? Yes! Instant pudding works well for this recipe—just prepare it according to package instructions and mix into the batter.
- How long can I store this dessert? Keep it refrigerated and covered; it stays fresh for up to three days, but tastes best within two.
- Can I make this dairy-free? You can use dairy-free cream cheese and whipped topping alternatives, plus almond or oat milk for the pudding mixture.
- Can I add other fruits? Absolutely! The recipe is flexible—peaches, mango, or mixed berries all work beautifully.
- Is it okay to substitute regular bananas for plantains? For a dessert like this, stick to ripe bananas as plantains have a firmer, starchier texture and stronger flavor that might overwhelm the pudding.
Strawberry Banana Pudding Dream Recipe
Strawberry Banana Pudding Dream is a luscious no-bake layered dessert featuring creamy vanilla pudding, fresh banana and strawberry slices, crunchy vanilla wafers, and a smooth whipped topping. Perfectly chilled, this sweet treat combines fruity freshness with indulgent creaminess for a crowd-pleasing finish to any meal.
- Prep Time: 20 minutes
- Cook Time: 0 minutes
- Total Time: 4 hours 20 minutes
- Yield: 8 to 10 servings
- Category: Dessert
- Method: No-Cook
- Cuisine: American
- Diet: Vegetarian
Ingredients
Fruit
- 6 to 8 bananas, sliced
- 1 container strawberries, sliced
Layers
- 2 boxes Vanilla Wafers
Pudding Mixture
- 1 (8 oz.) package cream cheese, softened
- 1 (14 oz.) can sweetened condensed milk
- 1 (5 oz.) box French Vanilla pudding mix
- 2 cups milk
Topping
- 1 (12 oz.) container whipped topping, thawed
Instructions
- Prepare the pudding mixture: In a mixing bowl, combine the softened cream cheese and sweetened condensed milk. Beat or stir until the mixture is smooth and creamy, ensuring there are no lumps.
- Add pudding and milk: To the cream cheese mixture, add the French Vanilla pudding mix and 2 cups of milk. Stir thoroughly until everything is well combined and the pudding starts to thicken slightly.
- Layer the ingredients: In a large serving dish, begin by spreading a layer of vanilla wafers evenly across the bottom. Next, arrange a layer of sliced bananas and strawberries over the wafers.
- Add pudding mixture: Pour half of the prepared pudding mixture over the layer of fruit and wafers, spreading it evenly.
- Repeat layers: Repeat the layering process with the remaining vanilla wafers, banana and strawberry slices, and then pour the remaining pudding mixture on top, spreading it out carefully.
- Top with whipped topping: Spread the whipped topping evenly over the final layer of pudding to create a light, creamy finish.
- Chill: Cover the assembled dessert and refrigerate for at least 4 hours to allow the pudding to set and flavors to meld. Serve chilled.
Notes
- For best results, use ripe but firm bananas to prevent browning and mushiness.
- You can substitute strawberries with other berries like blueberries or raspberries for variation.
- Ensure the cream cheese is softened to room temperature for easier mixing.
- This dessert can be prepared a day ahead; just keep it tightly covered in the refrigerator.
- Use gluten-free vanilla wafers to make this dessert gluten-free if needed.

