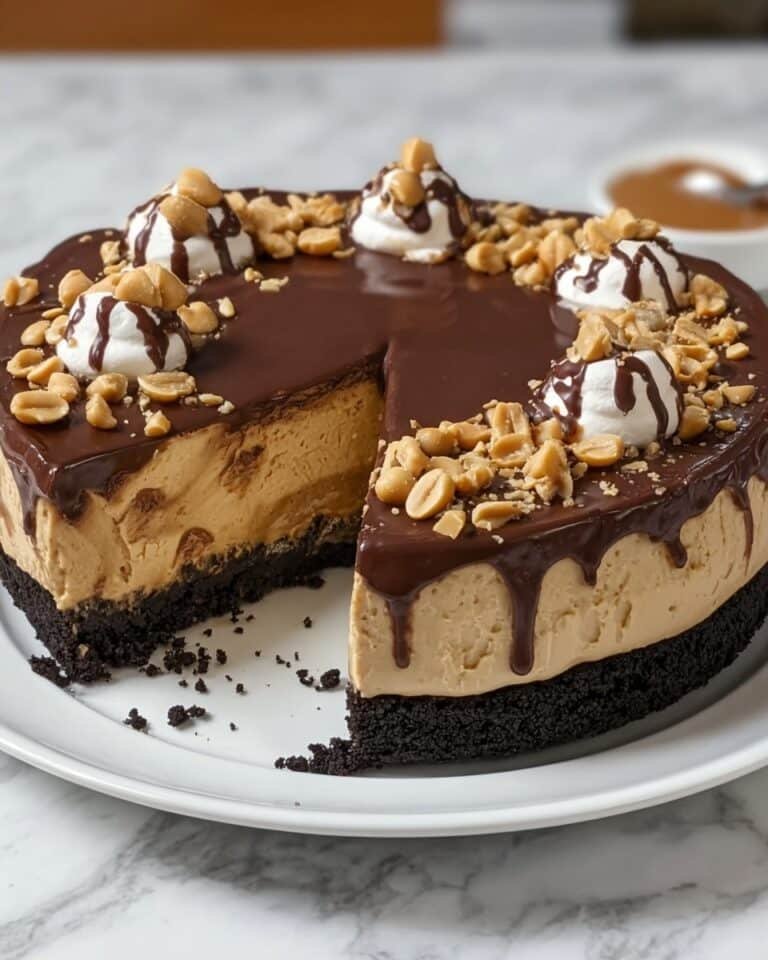
Welcome the Flavors of No-Bake Cookie Butter Icebox Cake Recipe
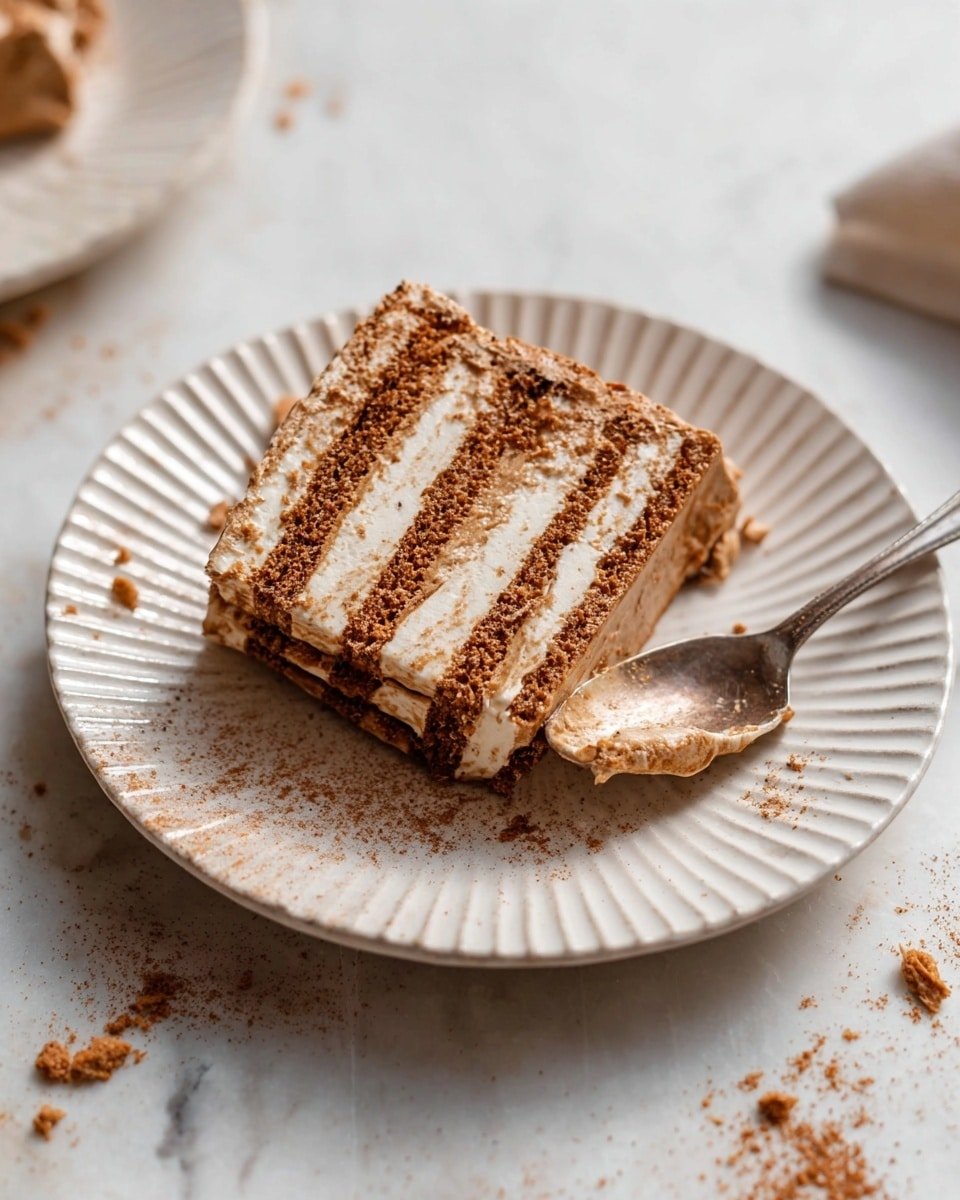
There’s something truly magical about a dessert that requires no oven time yet delivers layers of bubbly, creamy delight. That’s exactly why I adore this No-Bake Cookie Butter Icebox Cake Recipe. Inspired by the lovely spiced crunch of Lotus Biscoff cookies and the silky richness of mascarpone, it comes together into a golden crisp celebration of textures and flavors.
You’ll enjoy serving this treat on busy weeknights or for special gatherings when you want to wow your family or friends without spending hours behind the stove. The best part? This dessert gets better the longer it chills, soaking up all those fragrant cookie butter notes for a melt-in-your-mouth finish.
I love how layered icebox cakes feel fancy but are so easy to prepare. With just a handful of ingredients, you transform simple Lotus Biscoff cookies and luscious cream into a show-stopping dessert you’ll reach for again and again.
Daisy’s Top Tips
- Flavor Builder: Adding a pinch of cinnamon or a drop of almond extract with the vanilla gives a cozy warmth to the cream mixture.
- Texture Magic: Don’t skip the refrigerated resting time — it lets the cookies soften just enough for that perfect tender snap.
- Budget Friendly: You can swap mascarpone for cream cheese if you’re in a pinch — just soften it well for smooth mixing.
- Time Saver: Use a hand mixer if you don’t have a stand mixer; whipping the cream to medium peaks is quick and easy!
Market Basket & Pantry Picks
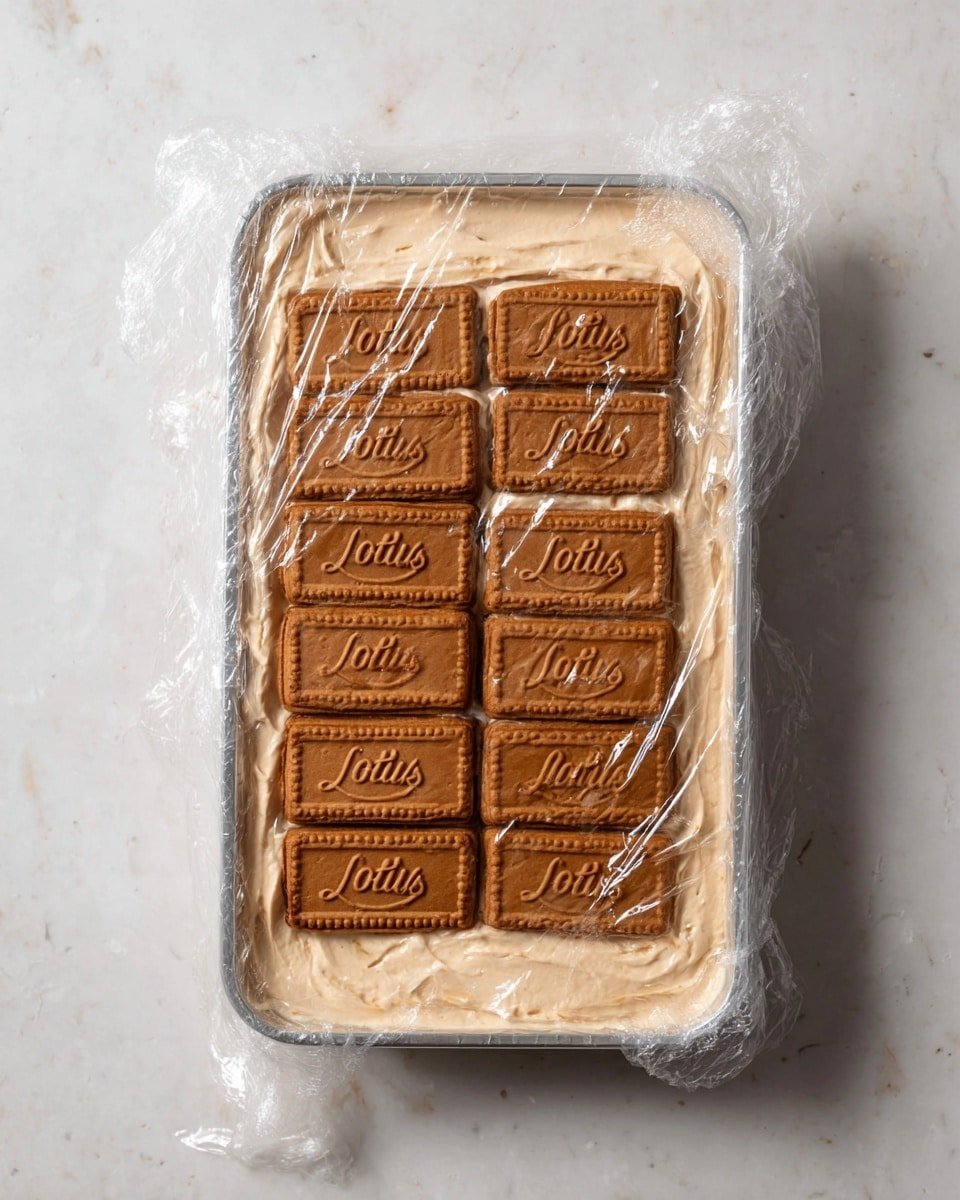
Choosing the right ingredients makes all the difference in this No-Bake Cookie Butter Icebox Cake Recipe. The silky mascarpone and freshly whipped heavy cream create that dreamy texture, while Lotus Biscoff cookies bring the signature caramelized crispness. If you want to switch up the cookies, ginger snaps or speculoos work well but keep them thin to soften nicely.
- 2 cups (1 pint) heavy cream: Use cold for better whipping results.
- ½ cup (150g) Lotus Biscoff spread: This is the creamy cookie butter that carries the recipe’s soul.
- ⅓ cup (80g) mascarpone cheese: Adds richness and smoothness.
- 1 tsp pure vanilla extract: Boosts flavor subtly and beautifully.
- Pinch of Kosher salt: Balances sweetness perfectly.
- 2 Tbsp confectioner’s sugar: For just the right amount of sweetness without graininess.
- 2 packages Lotus Biscoff cookies: About 64 cookies, essential for the layered crunch.
Smart Shopping Ideas
Look for the freshest heavy cream with a high fat content for easy, fluffy whipping. When choosing mascarpone, check the expiry to ensure freshness since it deeply influences creaminess. For cookie butter, if Lotus Biscoff isn’t available locally, most specialty grocery stores or online shops carry it year-round. And tip: buy extra cookies — they’re irresistible even on their own!
Cook No-Bake Cookie Butter Icebox Cake Recipe Step by Step
Ready to dive into making this delightful No-Bake Cookie Butter Icebox Cake Recipe? It’s a breeze! Just a few simple steps, and soon you’ll have a luscious, layered dessert chilling away in your fridge. Here’s how to get that bubbly, creamy magic going.
- Whip the heavy cream: Pour the cold heavy cream into a stand mixer bowl fitted with the whisk attachment. Whisk on medium-high speed until medium peaks form — when the cream softly holds its shape but still moves gently. This fluffy base is where the magic begins.
- Add cookie butter and mascarpone: Scoop in ½ cup of the cookie butter, ⅓ cup mascarpone cheese, 1 teaspoon pure vanilla extract, a pinch of Kosher salt, and 2 tablespoons confectioner’s sugar. Gently fold or whisk until smooth and creamy, blending those fragrant spices with rich creaminess.
- Assemble the icebox cake: Line a loaf pan with plastic wrap for easy removal. Lay a single layer of crunchy Lotus Biscoff cookies across the bottom. Spread a thick layer of cookie butter cream atop, roughly the same thickness as the cookie layer. Repeat layers, creating a mosaic of textures, finishing with cookies on top.
- Refrigerate for 24 hours: Wrap the loaf pan loosely with plastic wrap and pop it into the fridge. This resting time lets the cookies soften just enough to melt into the creamy layers, creating that signature tender bite. Patience really pays off here!
- Serve with a flourish: Carefully unmold onto a serving plate. Warm the remaining ⅓ cup of cookie butter a little and drizzle it over the top. For extra crunch and wow factor, sprinkle crushed Biscoff cookies on top before slicing.
Serving the Dish with Flair
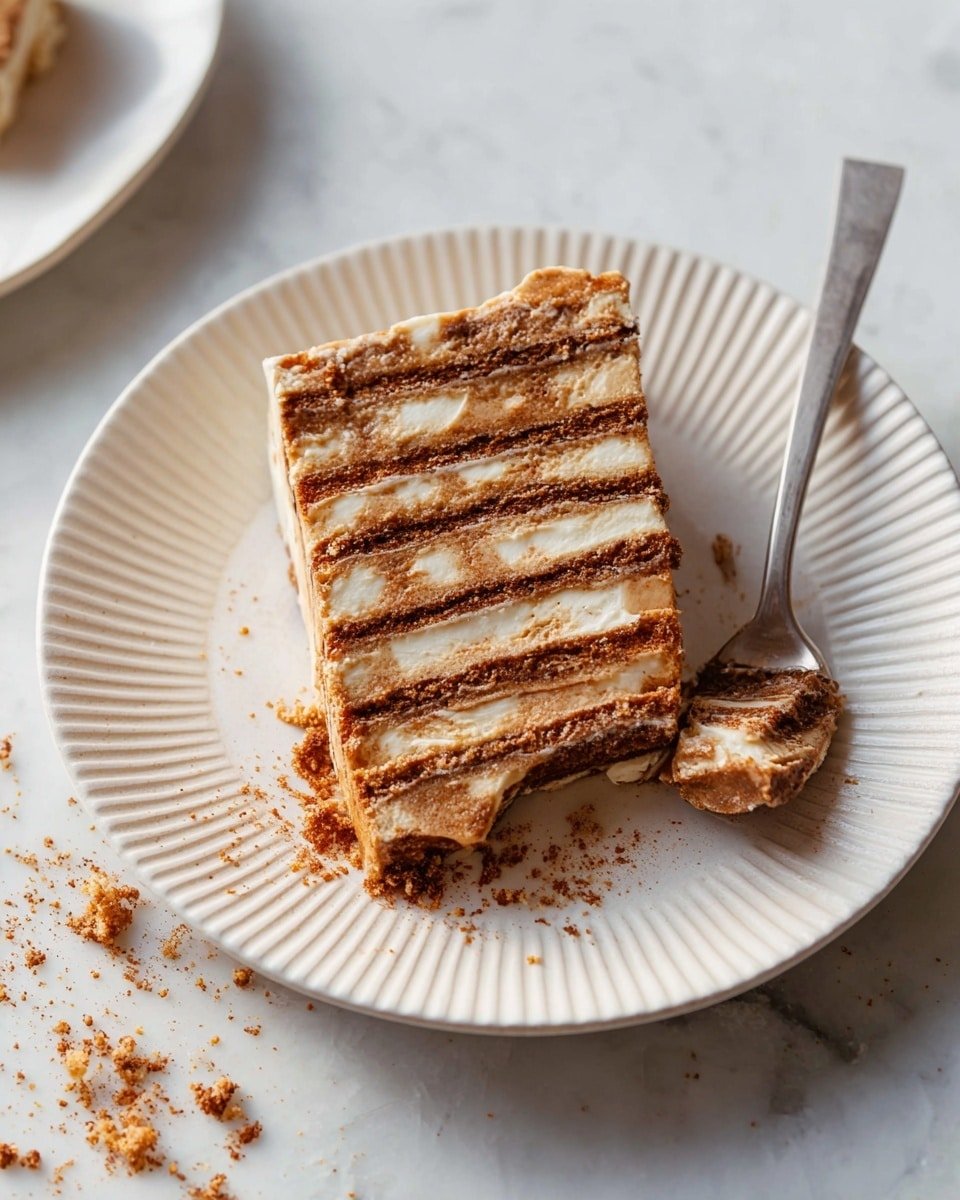
Once you’ve got this No-Bake Cookie Butter Icebox Cake Recipe chilled and ready, serving it becomes an event. I love inviting friends to gather ‘round as those layers reveal their soft, creamy wonder with every slice. It’s a dessert that sparks smiles and cozy conversation.
Serve It Up Right
- Perfect Pairings: Serve alongside fresh berries or a cup of warmly spiced chai or coffee to complement the caramel notes.
- Plating Magic: Use a serrated knife to slice neat pieces and plate with a drizzle of warmed cookie butter and a sprinkle of crushed cookies for that extra pop.
- Leftover Love: Cover and refrigerate leftovers for up to 3 days—flavors deepen beautifully.
- Occasion Twist: Add a scattering of toasted nuts or a dash of sea salt on top for holidays or special celebrations.
Fun Variations with No-Bake Cookie Butter Icebox Cake Recipe
- Swirl in a tablespoon of espresso powder with the vanilla for a mocha twist.
- Layer thin slices of ripe banana between cookie and cream layers for a fresh touch.
- Add dark chocolate shavings in each cream layer to amp up the indulgence factor.
- Swap mascarpone for ricotta mixed with a bit of honey for a lighter cream layer.
- Sprinkle crushed pistachios or toasted coconut on top for texture and color.
- Mix in a teaspoon of orange zest to brighten and enhance Biscoff’s spice profile.
Make-Ahead & Storage Tips
- Refrigerate: Keep covered in the fridge for up to 3 days. The flavors deepen and the cake softens perfectly.
- Freeze: Wrap tightly in plastic wrap and foil to freeze up to 1 month. Thaw overnight in the fridge before serving.
- Reheating: This dessert is best served cold but warming leftover cookie butter slightly to drizzle on top freshens up every slice.
- Prep ahead: Assemble the cake a day in advance for easy entertaining and stress-free dinner parties.
No-Bake Cookie Butter Icebox Cake Recipe FAQs
- Can I make this cake without mascarpone? Yes! You can substitute cream cheese softened well or even ricotta blended with a touch of honey for a lighter alternative.
- How long should I let the icebox cake chill? At least 24 hours is ideal to let the cookies soften and flavors meld perfectly.
- Can I use other cookies instead of Lotus Biscoff? Ginger snaps or speculoos cookies are good options, but avoid very thick or crumbly cookies as they might not soften well.
- Do I need a special pan to assemble the cake? A standard loaf pan works beautifully and makes unmolding easy with plastic wrap lining.
- Is this recipe suitable for kids? Absolutely! The sweet spice and creamy layers are a hit with kids and grownups alike.
No-Bake Cookie Butter Icebox Cake Recipe
This No-Bake Cookie Butter Icebox Cake is a luscious and creamy dessert layered with crunchy Lotus Biscoff cookies and a rich cookie butter mascarpone whipped cream. Perfectly chilled overnight, it offers a delightful combination of silky smoothness and spiced cookie crunch without any baking required.
- Prep Time: 15 minutes
- Cook Time: 0 minutes
- Total Time: 1 day 15 minutes
- Yield: 8 servings
- Category: Dessert
- Method: No-Cook
- Cuisine: American
- Diet: Vegetarian
Ingredients
Cream Mixture
- 2 cups (1 pint) heavy cream
- ½ cup (150g) Lotus Biscoff spread
- ⅓ cup (80g) mascarpone cheese
- 1 tsp pure vanilla extract
- Pinch of Kosher salt
- 2 Tbsp confectioner’s sugar
Cake Assembly
- 2 packages Lotus Biscoff cookies (32 cookies per package)
- ⅓ cup warmed Lotus Biscoff spread, for serving
Instructions
- Whip the heavy cream: Pour 2 cups of heavy cream into the bowl of a stand mixer equipped with the whisk attachment. Whip the cream on medium-high speed until medium peaks form, creating a soft and fluffy texture perfect for folding into the cream mixture.
- Add cookie butter and mascarpone: Add ½ cup (150g) Lotus Biscoff spread, ⅓ cup (80g) mascarpone cheese, 1 tsp pure vanilla extract, a pinch of Kosher salt, and 2 Tbsp confectioner’s sugar to the whipped cream. Mix gently but thoroughly until all ingredients are well combined into a smooth, creamy mixture.
- Assemble the icebox cake: Line a loaf pan with plastic wrap to facilitate easy removal later. Place a single layer of Lotus Biscoff cookies evenly across the bottom of the pan. Spread a layer of the Biscoff cream mixture over the cookies, matching the thickness of the cookie layer. Continue layering cookies and cream alternately until the loaf pan is filled, finishing with a top layer of cookies.
- Refrigerate for 24 hours: Loosely cover the loaf pan with plastic wrap and refrigerate the cake for at least 24 hours. This chilling period allows the cookies to soften and meld with the cream to create the perfect texture and flavor.
- Serve the icebox cake: When ready to serve, carefully unmold the cake onto a serving plate by lifting out using the plastic wrap. Drizzle with warmed Lotus Biscoff spread and sprinkle some crushed Biscoff cookies on top for added texture and flavor. Slice and enjoy the decadent, no-bake treat.
Notes
- For best results, use fresh Lotus Biscoff cookies and allow the cake to chill for the full 24 hours so the flavors fully develop and the cookies soften.
- Warming the extra Biscoff spread slightly makes it easier to drizzle over the top of the cake.
- Mascarpone adds richness and smoothness—substituting with cream cheese can alter the texture and flavor.
- This dessert must be kept refrigerated and is best enjoyed within 2-3 days of preparation.

